ONTAP 9 Feature: Volume rehosting

Why Is The Internet Broken?

ontap9week

Clustered Data ONTAP (now known as NetApp ONTAP) is a clustered file system that leverages virtualized storage containers known as Storage Virtual Machines (SVMs) that act as “blades” to create a secure, multi-tenant environment with a unified namespace.

These SVMs own objects such as network interfaces and Flexible Volumes (FlexVols) and act as their own segmented storage systems on shared hardware. In previous releases, the volumes were dedicated to the SVMs and could not be easily moved to another SVM in the cluster. You had to SnapMirror the volume over to the new SVM or copy the data. This process was time consuming and inefficient, so customers, for years, have asked for the ability to easily migrate volumes between SVMs.

In the 8.3.2 release, this functionality was added in limited fashion, for use with the new Copy-Free Transition feature. The volumes could only be migrated if they were…

View original post 1,410 more words

NetApp TMP Volumes

As transitions from 7-mode to clustered mode continue to emerge, I have been dealing with TMP volumes lately due to unfinished migrations for many reasons.. mostly user error. This is not a new “thing” but rather a not well understood procedure.

7MTT is a tool that allows migration from 7-mode to clustered-mode by not only creating snapmirrors between the clusters, but also copying other important metadata such as shares, ACLs, exports, and much more.

During the data migrations, projects are created in 7MTT which includes volumes, those volumes can later be removed from the project prior to cutover, which results in TMP volumes at the destination node. I’ve seen individuals remove volumes from 7MTT projects, snapshot related to the snapmirror relationship, or simply chose to attempt to complete the migration manually… Not sure why!

The thing is… those volumes are pretty much useless outside of 7MTT. Even if you break the mirrors manually, those volumes will not be RW. Also, if you try to do anything from System Manager, you will get an error.

NetApp_tmp.png

Regardless of your case, if you wish to turn those volumes into a normal type (RW), you will need to disable transition protection on that volume. This needs diagnostic privileges, so run at your own risk… ’cause I won’t be responsible if you mess up.

Cluster::> set diag

Cluster::*> volume transition-protect -vserver vserverA -volume volA -is-enabled off

Cluster::*>vol show

Cluster::*>set admin

As of ONTAP 8.3.x these commands work, but use the ? in case they change in the future.

Again. This is not a new “thing” just being asked by a lot of people lately, so I thought this may help.

Run at your own risk.

First look at ONTAP 9

NTAP_logoToday, NetApp announced the new version on Data ONTAP, now called ONTAP 9. Not clustered data ONTAP nor data ONTAP 7-mode. From now on, it will just be ONTAP, since 7-mode is no longer being developed. RC1 is scheduled to be out by late June, 2016.

The last few years, NetApp has focused on bringing feature parity to cdot, so new features and usability were a little behind in my opinion. However, the company is now at a point of greater innovation and most importantly, it appears that they are finally listening to the partners, and customers.

ONTAP 9 brings enhancements to the already well known features such as DataMotion, Compression, and dedup among others. It also includes features such as data compaction, HeadRoom, and RAID-TEC among others. More on new features on a separate post.

The main noticeable change on ONTAP 9 is a major face lift. Yes, the GUI is different; way different, while keeping some of the old look. In my opinion, it makes a lot more sense to control everything at a higher level, rather than having to hunt drop-down menus at different locations, just like the 8.2 days.  The new UI brings simplicity and usability at the same time, with an intuitive, non-cluttered set of tabs.

Here is a sneak peek of ONTAP 9 UI. The main menu is composed of 7 tabs that will give you access to manage and configure your NetApp cluster. Categories include Dashboards, LUNs, SVMs, Network, Hardware and Diagnostics, Protection, and Configurations.

Rather than describing what each tab does, I will just be posting the screenshots since they are self explanatory in my opinion. Enjoy…

DASHBOARD

ONTAP_9_Dashboard2

ONTAP_9_Dashboard


LUNs

ONTAP_9_LUNs


SVMs

ONTAP_9_SVM

ONTAP_9_SVM2


NETWORK

ONTAP_9_Network


HARDWARE and DIAGNOSTICS

ONTAP_9_HW


PROTECTION

ONTAP_9_Protection


CONFIGURATIONS

ONTAP_9_Config


You can find a step-by-step guide by Neil Anderson at http://www.flackbox.com/netapp-simulator/

Virtualización de Storage: Sí, NetApp

Al igual que VMware ha sido el pionero de la virtualización de servidores, NetApp parece ser el jugador de virtualización para vencer en el campo del almacenamiento en este momento. Aunque ONTAP de NetApp clustered-mode (C-Mode) no es una nueva versión,, los usuarios en 7-mode les esta tomando un tiempo no solo el entender, sino también poner en práctica clustered-mode dada su complejidad en comparación con 7-mode. Pero una manera fácil de pensar en C-Mode, es encontrar las similitudes con vSphere de VMware.

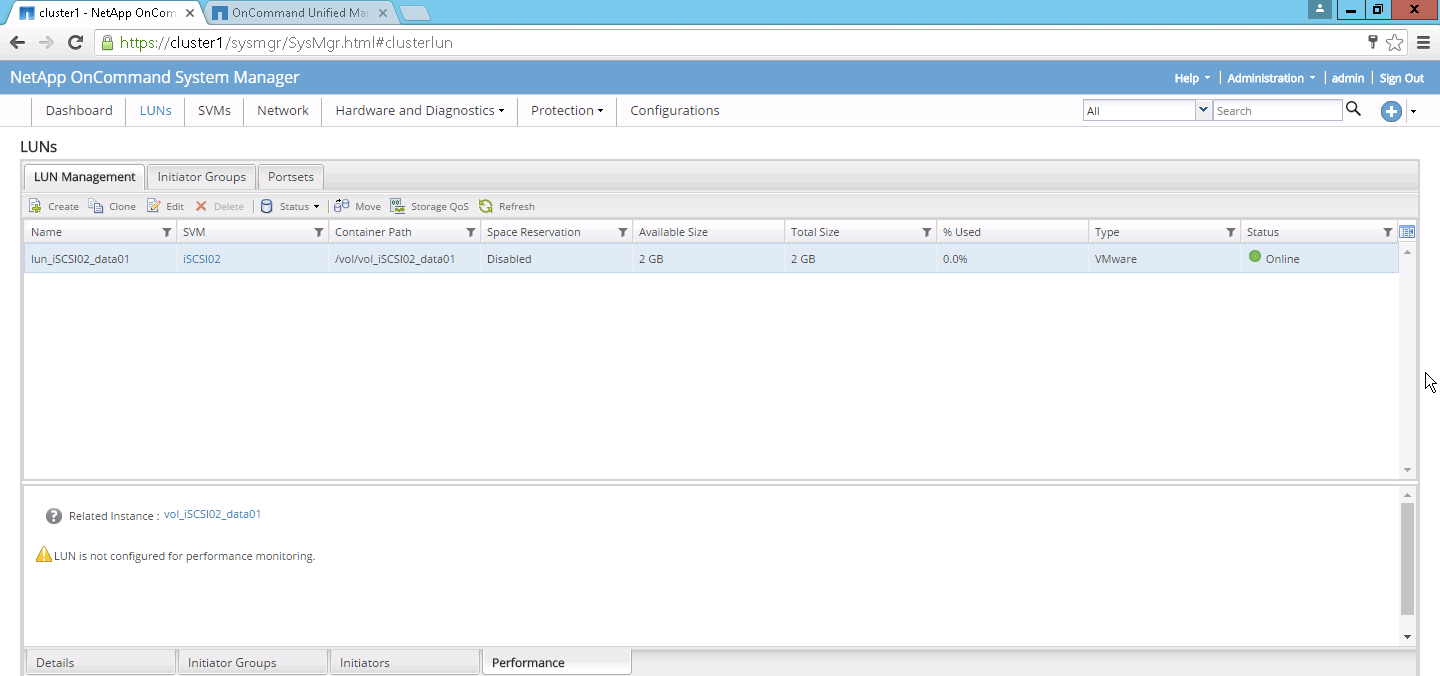
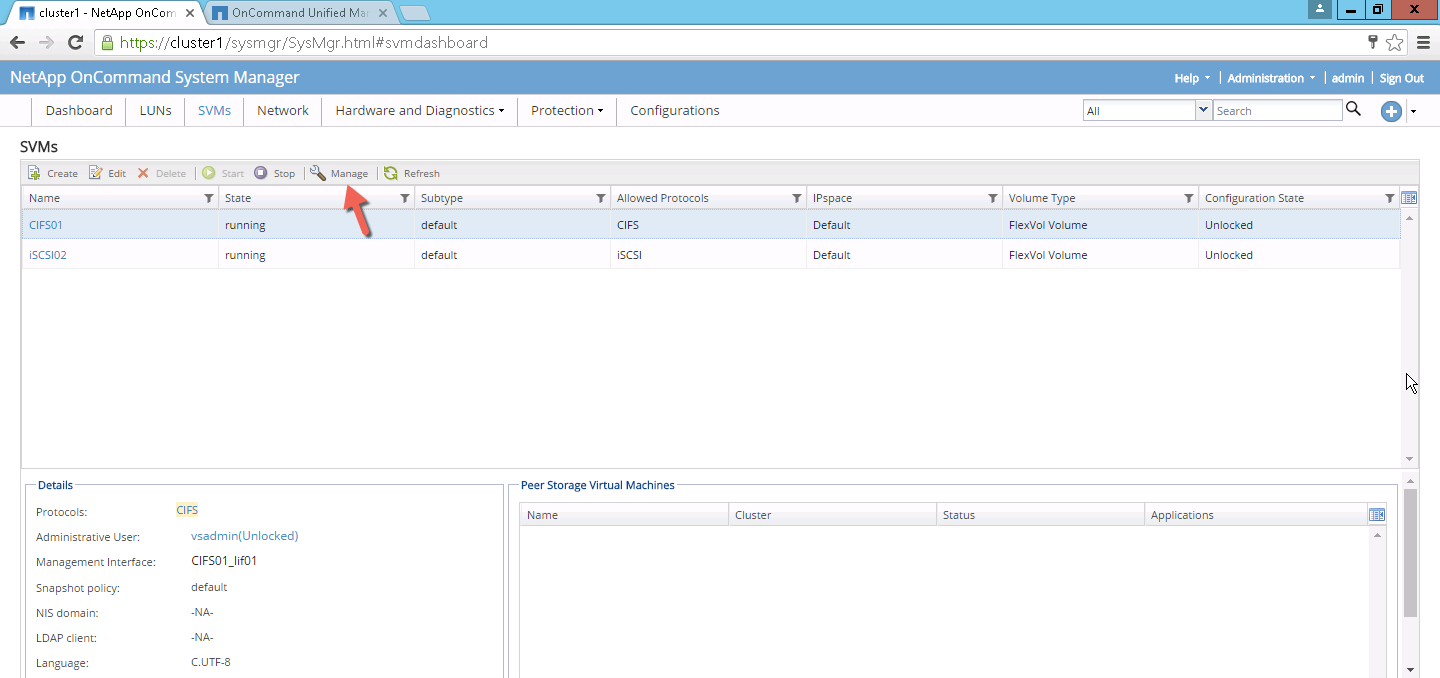
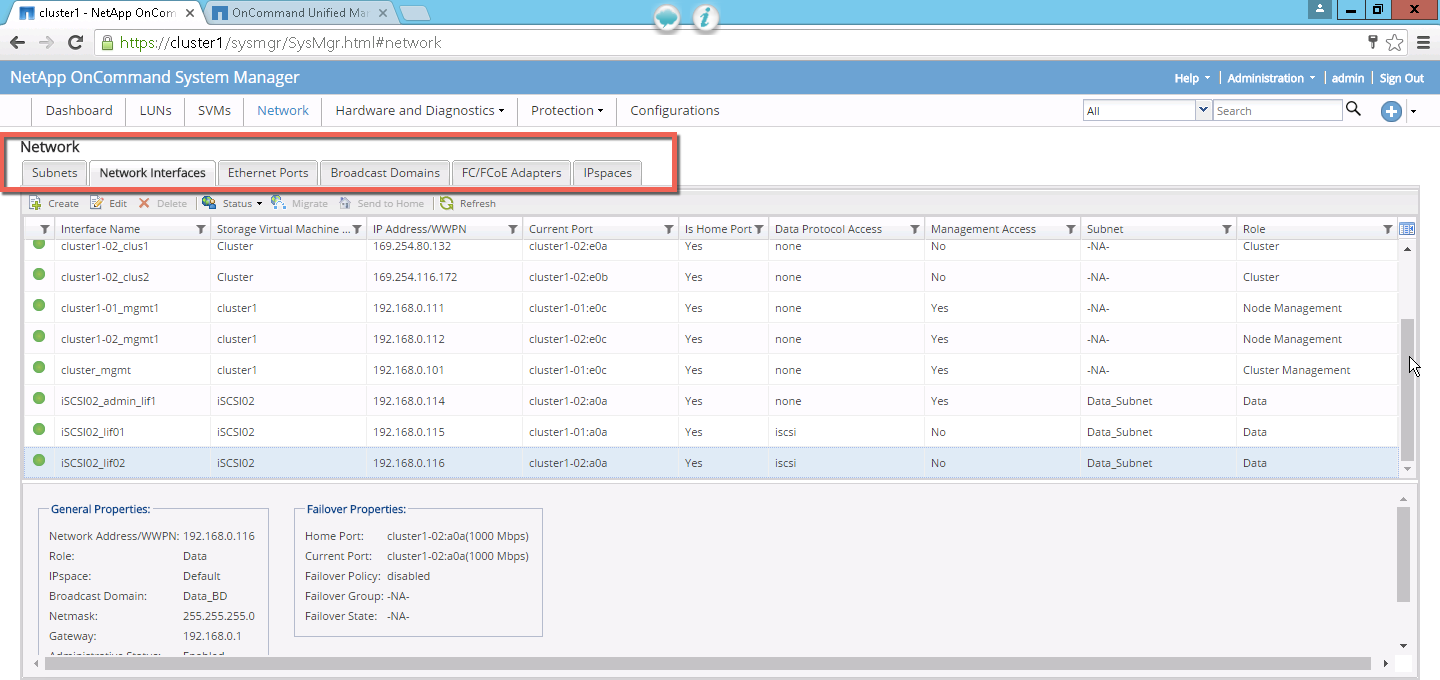
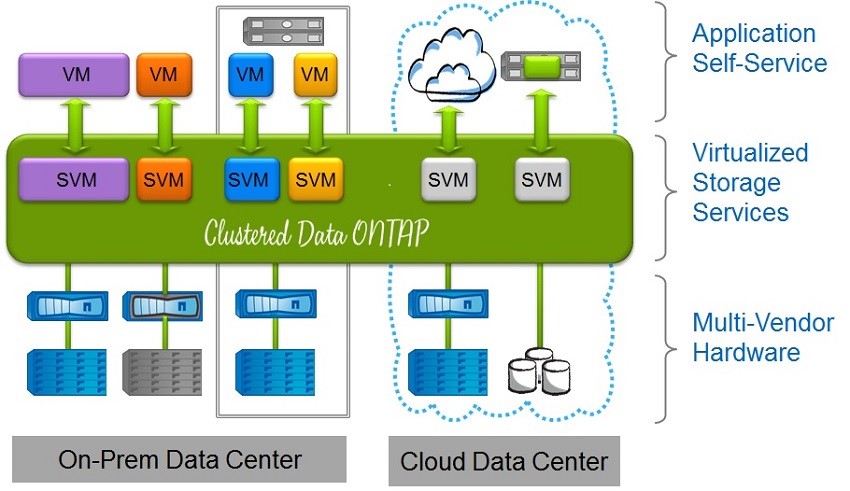
Clustered-mode rompe el aspecto físico de almacenamiento en una configuración virtualizada donde varios ambientes de almacenamiento virtuales se pueden crear para segregar las diversas configuraciones lógicas. C-Mode puede ser un gran caso de uso de un proveedor de servicios de nube pública, donde es necesaria la segregación de las máquinas virtuales de almacenamiento; pero vamos a tener en cuenta, que este tipo de segregación también puede ser utilizado en gran medida dentro de un ambiente privado para muchos casos de uso.

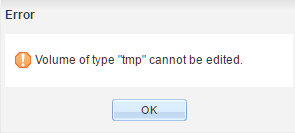
Habiendo recientemente alcanzado una maestría en seguridad Cibernética y Aseguramiento de la Información (CIA), he aprendido un par de cosas acerca de la protección no sólo de los entornos públicos, sino también asegurarse de que somos internamente seguros. Su empresa es sólo tan fuerte como su eslabón más débil. Después de todo, un gran número de los ataques se generan internamente por los usuarios por la falta de conocimiento o incluso los usuarios maliciosos. A través de la virtualización del almacenamiento y la segregación de las máquinas virtuales de almacenamiento, podemos lograr no sólo una mejor seguridad, sino también una mejor administración a través del uso de las políticas.

NetApp_Stor_Virt


Este ambiente de almacenamiento virtualizado permite una relación más directa con los ambientes de servidores virtualizados, tales como VMware, donde se necesita un control más granular. En mi humilde opinión, NetApp C-Mode y VMware vSphere no son muy diferentes entre sí. Mientras me preparaba para mi certificación NCDA para NetApp (Modo C), no pude dejar de notar las similitudes en sus arquitecturas. C-Mode actúa como el hipervisor, o en este caso vSphere, y ambas plataformas tienen máquinas virtuales que actúan como identidades independientes. Tales identidades tienen sus propias personalidades, como direcciones IP, información de acceso, asignaciones a una red subyacente física, etc.

Mientras VMware utiliza servidores para la plataforma física, NetApp C-Mode utiliza su software hardware y ONTAP de datos para ofrecer virtualización de almacenamiento; que una vez unido con VMware, se convierten en una solución muy potente para las empresas de todos los tamaños. Está claro que estoy bebiendo el cool-aid de NetApp, pero creo que su tecnología, además de productos de VMware, representan grandes soluciones para SMB empresas grandes. Las dos empresas (NetApp & VMware) ofrecen incluso mejores integraciones y soluciones a través de la utilización de VASA, VAAI, VVols, VSC, etc. Más en ellos pronto …

Configuración de puertos UTA2 en NetApp

Puertos NetApp UTA2 es probable que sean configurados como puertos FC al recibir un nuevo systema. Al menos esa ha sido mi experiencia. Eso es perfectamente bien si va a utilizar esos puertos como puertos de FC. En el caso de que usted quisiera utilizar estos puertos como puertos de 10 GbE, tendrá que cambiar el modo de los puertos. Esta configuración se debe hacer a través de la CLI.

Para convertir UTA2 o CNA puertos a 10 GbE, tendrán que hacer los siguientes pasos.

  • Compruebe la configuración actual
  • Desactive los adaptadores
  • Cambiar el modo de los adaptadores
  • Habilitar los adaptadores
  • Reboot el node de clúster
  • Compruebe la configuración actual utilizando el comando “ucadmin show“. Este comando mostrará el estado, estado actual y pendientes, así como el tipo actual y pendiente de los puertos UTA2

NetApp_UcadminShow


Deshabilitar el adaptador depende del tipo actual del adaptador

Si el tipo = TARGET use esta linea “fcp adapter modify -node <filer_node_name> -adapter 0e -state down

Si el tipo = Initiator use esta linea “storage disable adapter <adapter_name>

  • NOTA: Este es un comando de 7-mode, entoces va ha tener que correr esta linea usando system node run “system node run -node <node_name> -command <storage command>” or “system node run <node_name> y después la linea anterior.  Tantas opciones…

Cambie el modo del adaptador usando este comando”ucadmin modify -node <node_name> -adapter <adapter_name> -mode cna

NetApp_ucadmin_modify


Una vez que haya cambiado todos los modos de los adaptadores. Habilitar los adaptadores y repetir en el otro node.

Comandos:

fcp adapter modify -node <node_name01> -adapter 0e -state up
fcp adapter modify -node <node_name01> -adapter 0f -state up
fcp adapter modify -node <node_name01> -adapter 0g -state up
fcp adapter modify -node <node_name01> -adapter 0h -state up

Reinicie un node a la vez en un momento fuera del horario de producción, por supuesto. (system node reboot <node_name>)

Ejecutar “ucadmin show” una vez más para verificar todo que todo se ve bien.

NetApp_UcadminShow_done