vROps 6.0: Why you need it now

One of the most time-consuming activities within an IT infrastructure is “keeping the lights on”. The operations of an IT environment requires many, many man hours, and this may also vary depending on the type of tool(s) utilized. There are many operations related tools that help administrators manage an environment, but VMware’s vRealize 6.0 brings great enhancement to its predecessors, and definitely sets itself apart from the competitors.

vRealize Operations Manager 6.0 introduces smart alerts. These types of alerts are the result of the aggregation of similar alerts into a single “smart” alert. This approach reduces the number of false-positive alerts, as well as decreasing the alert storms when issues appear. vROps, also provides a mitigation recommendation based on the smart alerts and allows for automatic problem remediation from vROps to the target vCenter, without the need to go to the vCenter Web Client. This integration provides management from one single console. The same applies within the vCenter Web Client, where information from vROps is visible for each entity.

The aforementioned features are key differentiators from older vCOps versions as well as from 3rd party competitors. vRealize Operations Management suite also allows to monitor other aspects outside the VMware environment such as storage, network, OS, and applications among others. This integration is done via management packs and plug-ins that allows businesses of all sizes to monitor their IT infrastructure from one single UI. It is also important to mention that vROps is capable of providing information for both security compliance as well as regulatory compliance such as HIPAA, SOX, and PCI among others.

For those that are currently running pre-vRealize version of Operations Manager (vCOps), I highly recommend that you make the move to vRealize 6.0. The additional features are worth the migration, which by the way is a breeze. I was able to deploy a new vROps instance and import from vCOps 5.8 in less than an hour. The new version provides many additional reports and dashboards that will reduce the time spent monitoring your IT Infrastructure.

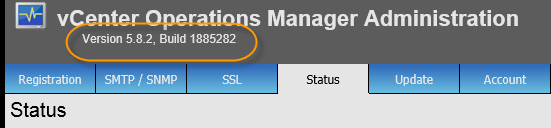
By the way, to migrate to vROps 6.0 you need at least vCOps 5.8.1 version on the source system. I have a post regarding upgrade of vCOps here. You can either deploy vROps as a virtual appliance, on Windows OS or RHEL 6.5. Please refer to VMware’s documentation for details.

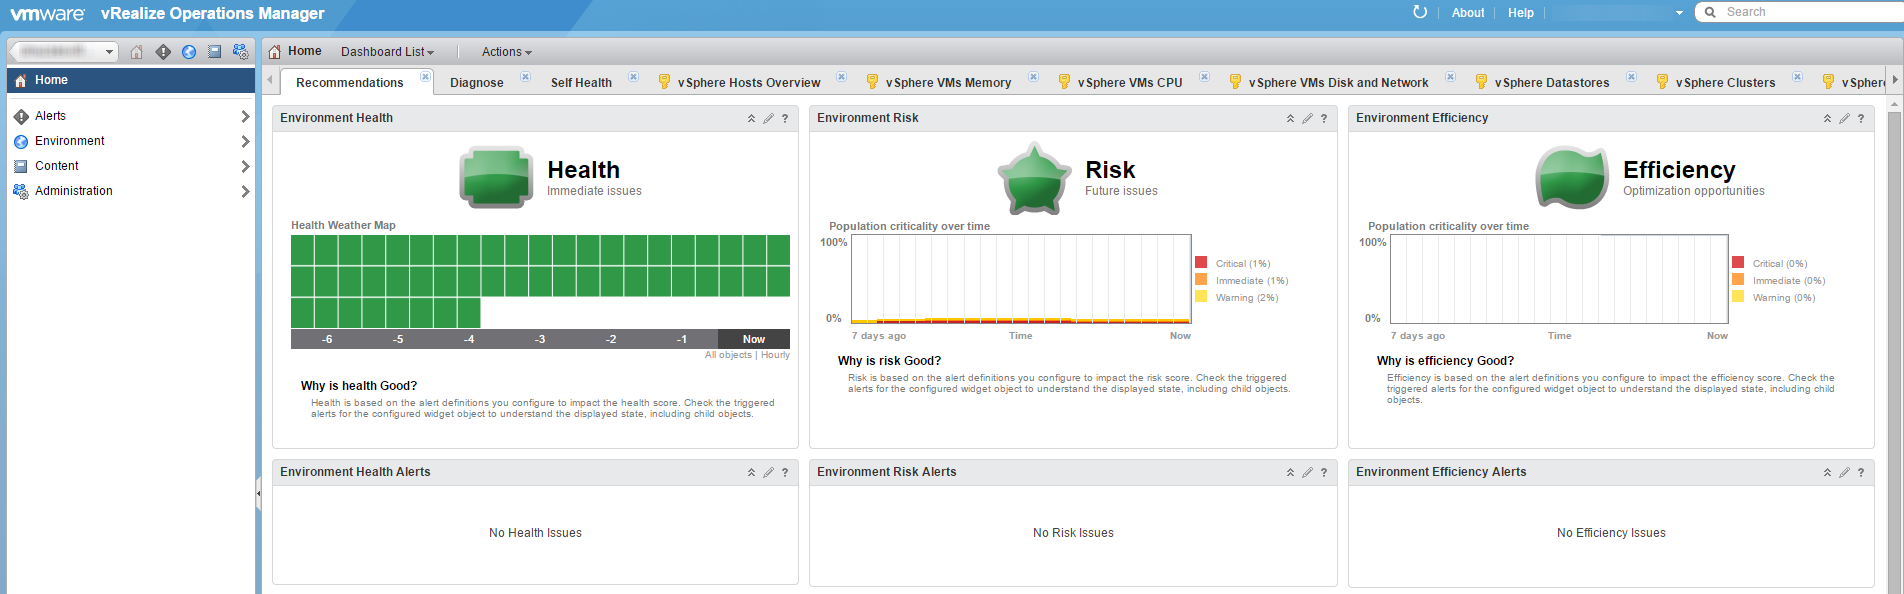
Here is a dashboard comparison between vCOps 5.8 and vROps 6.0.

Figure 1: vCOps 5.8.2
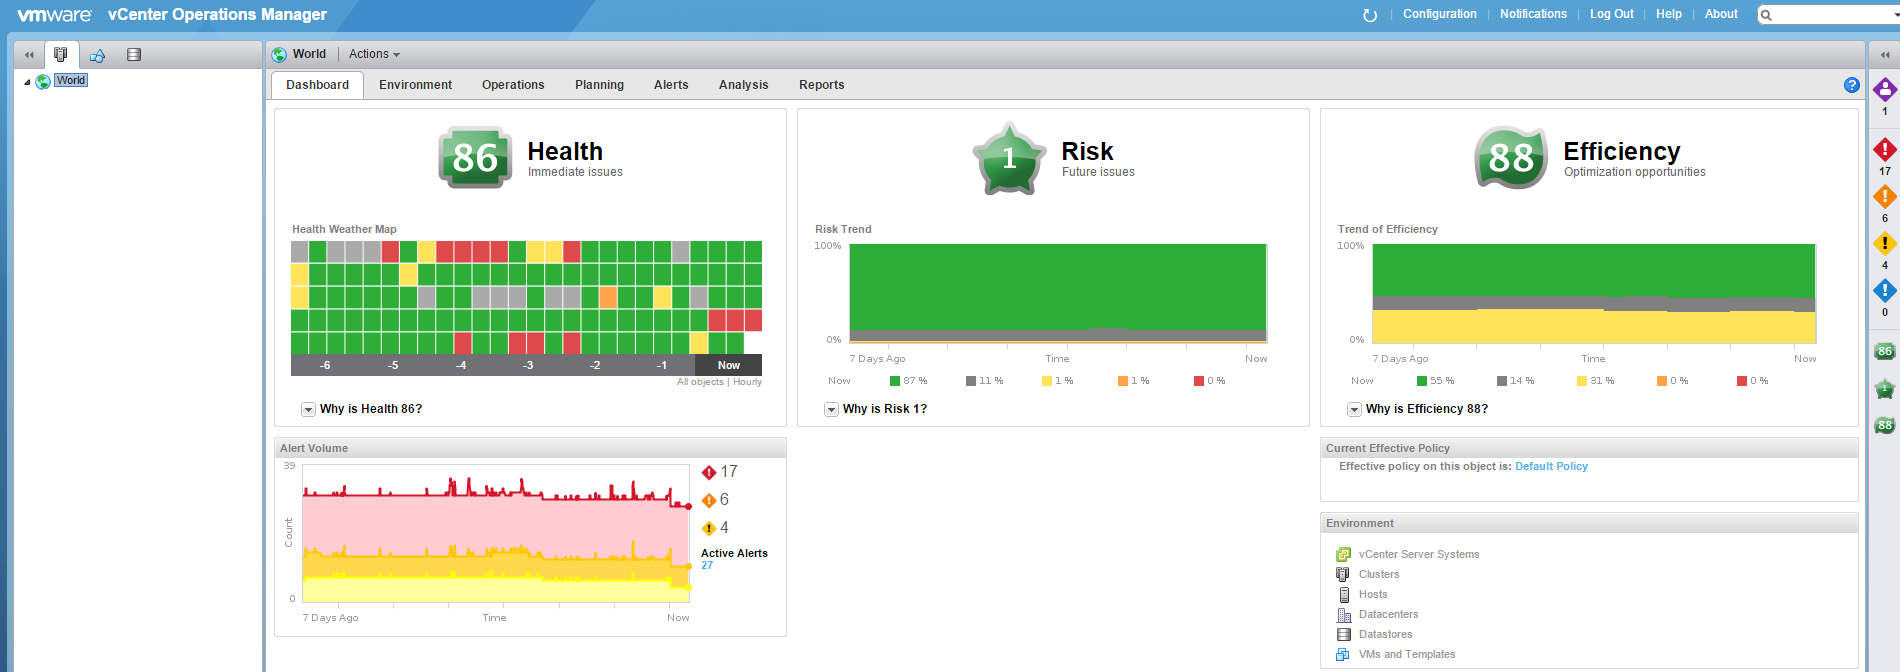
vCOps5.8.2


Figure 2: vROps 6.0

vROps6.0


vCOPS vApp Migration to new vCenter

I really like vCOPS, as it makes my life easier. I can easily run a stress reports and show undersize/oversize percentages within a VM, among other cool reports.

Anyway, I’m migration most of my vCenters from 5.1 to 5.5, and I opted to create new vCenters since the “old” 5.1 vCenter have been in-place upgraded since 4.5. I know, I’m not a fan of in-place upgrades either. Migrating VMs from VC to VC is easy enough. Just attach the storage to both vCenters and remove from inventory from the source vCenter, then register the VMs by right clicking the .vmx file and register VM, or add to inventory depending on what flavor of UI you are using.

To migrate the vCOPS vApp, we need to remember a few key points that are important. An IP Pool is required for vCOPS. The vCOPS vApp holds critical information such as the IP addresses of the UI and analytics VM as well as the timezone and start order among other settings. Moving the vCOPS VMs is pretty straight forward, but how about the vApp?

Moving vCOPS to a new vCenter is actually really easy. You could export the entire vApp to an OVF or OVA and then import it to the vCenter. While this is the method I’ll be describing it takes quite some time to export your vCOPS VMs and it is an unnecessary space requirement in my opinion. To quickly move vCOPS do the following:

  • Write down the timezone and IP addresses under the vApp properties
  • Shutdown your vApp
  • Remove vCOPS VMs from inventory and register them in the new vCenter
  • Next you need to export your vApp to an OVF template
    • If you try to do this now, it will fail because there is no known network as described within the vApp, since the vApp has no VMs with network interfaces.
    • Just create a dummy VM as a placeholder within the same network as the other vCOPS VMs, and use thin provisioning so you don;t waste any storage.
    • This will allow you to export the vApp
  • Once you have exported the vApp. Import it into the new vCenter
  • Add the “migrated” vCOPS VMs into this vApp
  • Remove the dummy VM
  • And you are done… Well, not quite yet.
  • Remember the vCOPS requires the IP Pool aka (Network Protocol Profile)
  • So create a new IP Pool in the new vCenter and you should now be able to bring up your migrated vCOPS environment

vCOPS_vApp_prop                       vCOPS_vApp_OVF


vCOPS Upgrade 5.6 – 5.8.2

vCOPS upgrade 5.6 – 5.8.2

Today I decided to write about one of the tasks that I consider trivial. This task; however, threw me a few curve balls.

It’s been a while since I have looked into upgrading vCOPS. My setup consists of 1 vCOPS environment per data center and they are all running version 5.6.

The first thing I noticed when downloading the upgrade PAK was that there was an additional PAK file. The OS PAK states that an OS upgrade of SLES is required in order to run vCOPS 5.8.2.

PAK_Files

Procedure:

  • Download PAK files
  • Upgrade vCOPS to 5.8.2
  • Upgrade vApp VMs to SLES 11 SP2
  • Reboot
  • Verify

To upgrade to 5.8.2, log on to vCOPS/admin and attach/upload the PAK file and click update.

vCOPS_Bundle

You will get a little pop-up message stating that you cannot revert back to previous versions. (Exchange admins should be familiar with this…).

vCOPS_confirm

After accepting the EULA… I mean reading and accepting, the status showed as failed. Looking further at the status, it was evident that there was not enough free space on the UI VM. When more space is needed for vCOPS, all you need to do is add a drive to either or both VMs within the vAPP, and vCOPS will mount the new drive and format it into the same logical drive where all the data is being stored. The normal procedure applies to adding disks. VM>Edit Settings>New Device:New Hard Disk> Assign a size and modify advanced features if needed. VMware recommends that you add Eager Zero thick drives whenever possible for better performance.

vCOPS_vApp

vCOPS_Drive2 vCOPS_Drive_Result


While vCOPS is updating, you can log back in and check the status.

vCOPS_status        vCOPS_status_after

The next step is to upgrade the OS.

In order to upgrade the OS, you will need to copy the PAK file (VMware-vcops-SP2-1381807.pak) to the data drive of the UI server. You can use SCP or WinSCP (If you are a GUI person) and copy the file. Initiate the SLES 11 SP2 upgrade by running the command below. The nice thing is that this command upgrades both UI and analytics servers in the vApp. Reboot the vApp after the upgrade and check to make sure everything looks good afterwards.

/usr/lib/vmware-vcops/user/conf/upgrade/va_sles11_sp2_init.sh /data/VMware-vcops-SP2-1381807.pak

vCOPS_sles_1 vCOPS_sles_2

vCOPS_sles_Completed


Once done, reboot the vApp and enjoy.

publickey,password error

IF… you did not check your root password before the OS upgrade and it is expired, you will need to change it. To check your password use the command: chage -l root. If you do have to change your password before/after the reboots you may run into a potential issue where you will have a key mismatch. You can ssh to/from each server to make the servers exchange keys by running these commands:

From UI VM: ssh secondvm-internal

From Analytics VM: ssh firstvm-internal

Also make sure the correct permissions are in place. Run this commands on both VMs.

usermod -G vami,wheel root

usermod -G root,wheel admin

echo “ALL : ALL : ALLOW” >> /etc/hosts.allow service sshd restart

Then follow the instructions from KB2032750

rsa